How to Make a Digital Scrapbook in No Time
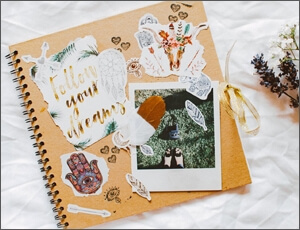
Scrapbooking has always been a popular DIY activity, but the digital age has made it a million times better. Now you no longer have to deal with measuring, cutting, glueing, sneezing from glitter, and then crying over an unfixable mistake. With digital scrapbooking, even a newbie can animate then decorate their photos in just a few clicks.
In fact, digital scrapbooking is not that different from making traditional photo books. The creative process still revolves around arranging your photos into some themed groups and decorating the page they are placed on. The only difference is that embellishments you buy and glue together are digital cliparts and effects.
Sounds interesting? Then let’s learn how to create a digital scrapbook that will showcase your artistic aspirations and make your friends gasp in amazement.
5 Digital Scrapbooking Ingredients
- The theme - Yes, any scrapbook starts with a concept. A vacation, a wedding, your baby hitting another milestone - all of the scrapbooking elements should be built around the theme. Even if you have just a bunch of random pictures that you like and want to incorporate into a single atwork, you have to pick a theme to make your scrapbook work.
- The pictures - Funny or serious, professional or amateur - anything goes. Pick your pictures carefully so that they reflect the mood and the theme of your scrapbook. Don’t have many of your favourite photos in a digital format? No problem, just digitize them. This way you’ll not only get them ready for your scrapbook, but will also preserve them in your hard drive or cloud.
- Animation - The scrapbook is going to be digital, remember? No one will be turning over the pages unless you animate them. And don’t resort to simple effects like the said page turning either. Digital scrapbooking gives you endless artistic freedom, so you can animate your pictures the way you like, then decorate them with lovely nature effects, subtle sparks, or jolly bubbles.
- Captions - Yes, we know that a picture is worth a thousand words, but that doesn’t mean you can only stick to photos. Embellish the pages of your electronic scrapbook with heartfelt quotes or behind-the-scene anecdotes.
- The software - Your choice of software can either help you create a stunning piece of scrapbooking, or kill your artistic buzz for a long time. If you don’t want this to happen, go with the right program for the job. We suggest SmartSHOW 3D, a powerful and versatile slideshow maker for PC that you can use for digital scrapbooking. Jam-packed with pro tools, hundreds of effects and templates, this software is still very easy to use and to navigate even for beginners. And pro users will certainly find joy in creating their own effects and animation.
Have a look at a sample project made with SmartSHOW 3D’s digital scrapbooking templates.
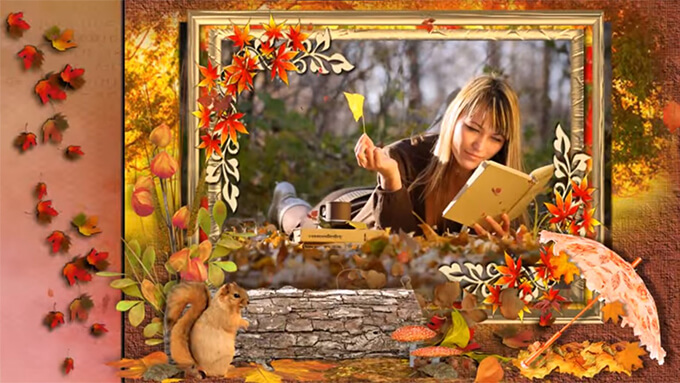
Didn’t it tickle your DIY fancy? If so, then try this software yourself. After all, SmartSHOW 3D comes with a free trial. Download it to create your own project today!
How to Make a Digital Scrapbook in a Few Steps
Although creating a scrapbook seems to be a difficult process, it is actually not, if you break it into a few simple steps. So gather up your inspiration, decide on the theme, pick your pictures, and let’s get going!
Step 1. Add Your Pictures to Your Scrapbook
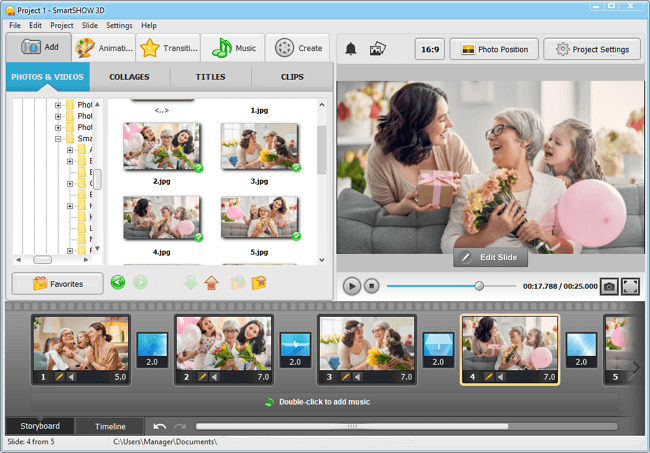
Fill the slides with your pictures. Stick to the chosen theme so that your scrapbook looks coherent. You can drag-and-drop certain files, or add the whole folder. Shuffle your pictures or put them in a strict order if you want to tell a story. You can even add videos to your scrapbook to make it even more dynamic.
Step 2. Apply Eye-Catching Effects
SmartSHOW 3D comes with an immense library of 400 animations and transitions that you can use to set the pace and the flow of your video. But the most fun comes with the nature effects! Embellish your scrapbook with floating bubbles, butterflies, sparks, hearts, leaves, snowflakes - the list is endless! These effects are amazingly easy to apply and to customize. Want to add more zest to the pictures? Then decorate them with 100+ masks and frames. No glue, no scissors - just a click and there it is.
Step 3. Insert Eloquent Captions
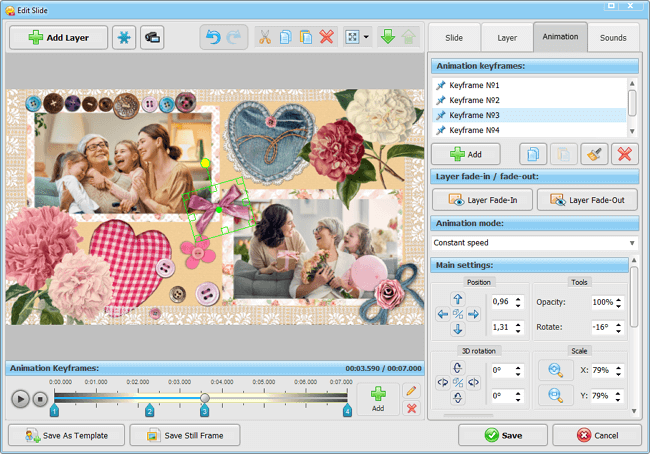
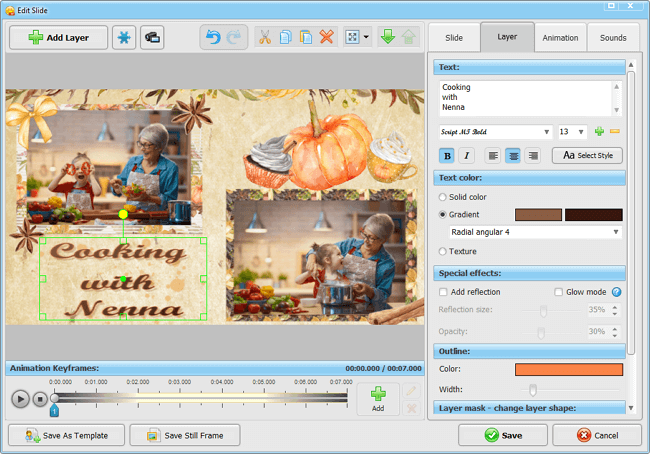
Embellish your scrapbook with a meaningful quote or an anecdote. Just type in your text and place it where you want it to be. You can not only edit the size and the font of your caption, but also add an outline, a shadow, or a reflection. And what’s more - you can even animate your text! Just imagine - a funny pun in colorful letters coming out of nowhere onto your scrapbook. Or how about an inspiration quote dropping letter-by-letter? Or a Bible verse in glowing letters scrolling down your slides? With SmartSHOW 3D, you can do anything.
Step 4. Set the Mood with Music
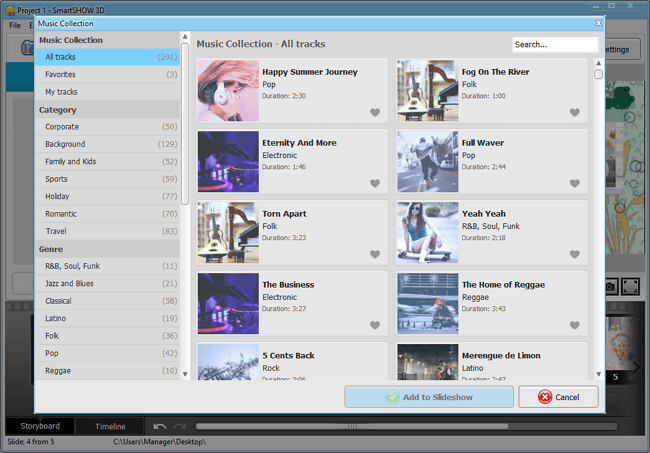
But scrapbooks aren’t music boxes, you might say. Trust us, your digital scrapbook can only benefit from some upbeat or serene tune! After all, SmartSHOW 3D has a 200+ library of free tracks, so you are sure to find a tune to your liking. Want to use a song of your own choice? Add as many as you want to the timeline.
Step 5. Save Your Digital Scrapbook Video
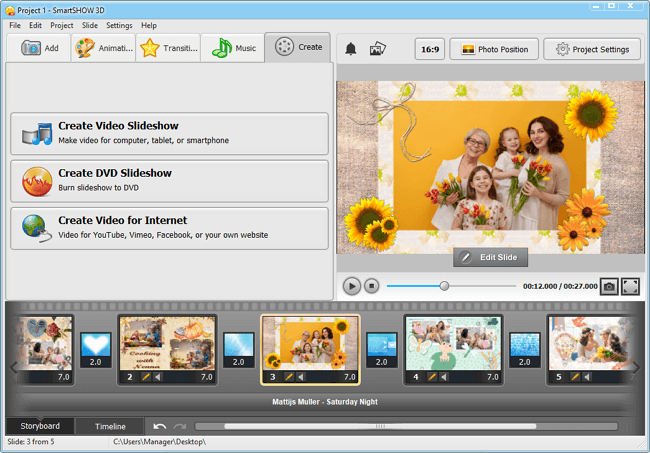
And now your masterpiece is complete. It’s time to decide how you want to share it. Going to watch it on your TV? Then save your project as a video for a dozen of different TV models. Wish to upload it straight to your social media pages? Then create a video for YouTube, Facebook, Vimeo, etc. You can even burn your scrapbooking video to DVD to give someone as a keepsake.
So you see, digital scrapbooking could be just as enjoyable as the regular kind, if not more. You just need to go with the right software! SmartSHOW 3D takes all the hard work out of the scrapbooking process, but leaves all the fun and creative freedom there. Now that you know how to do digital scrapbooking with it, you can easily turn your family photo archive into a stunningly beautiful video!
Get started with SmartSHOW 3D!


